
Your Calendar Is Now an Event Landing Page—Here’s How
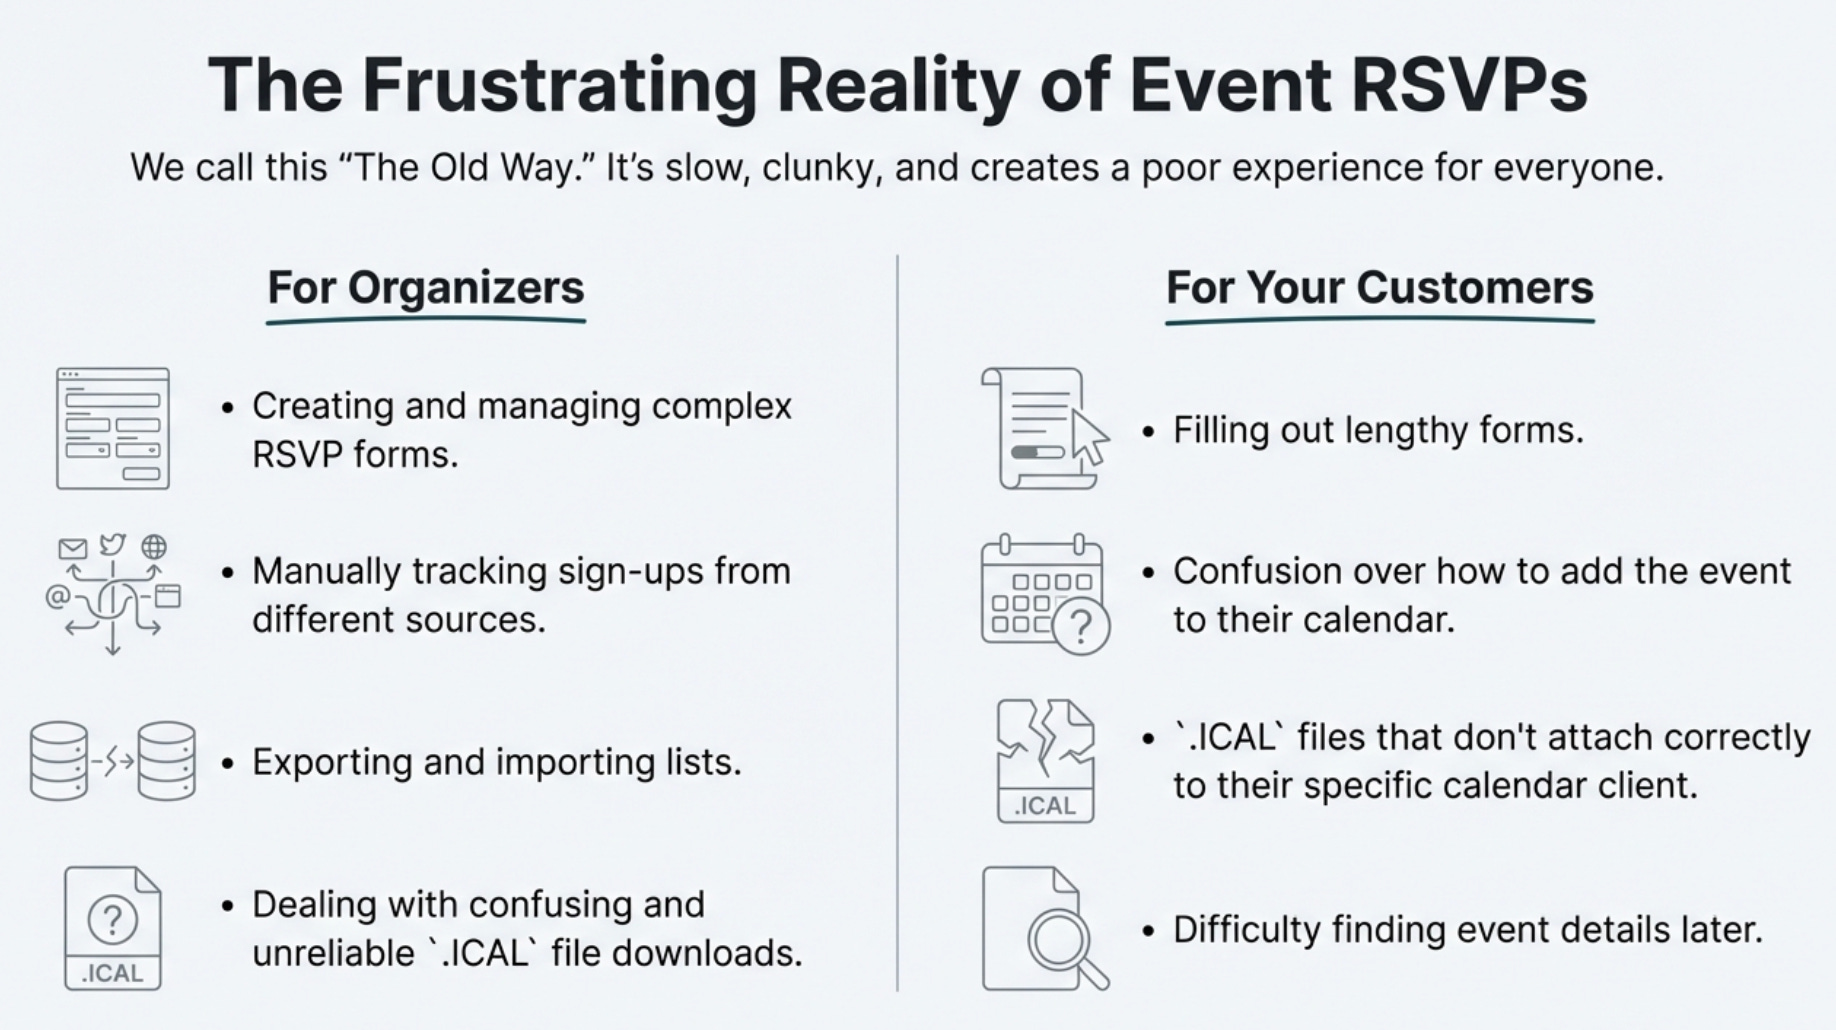
Organizing an event, big or small, often involves a frustrating amount of administrative work. You build a landing page, manage a separate RSVP form, and field questions from attendees who can’t find the .ICAL file or figure out how to add it to their calendar. When an event detail changes, you have to manually update your page and send out a mass email, hoping everyone sees it.
This process is clunky for you and your customers. The traditional workflow of RSVP forms and downloadable calendar files is often unreliable, fails to confirm receipt, and creates a disjointed user experience. But what if the solution wasn’t another complex tool, but a smarter way to use the one you already have open all day?
A simple, elegant system exists that transforms your native Google or Microsoft Calendar into a powerful event management hub. By sending a single email, you can automate the entire process, from creating a landing page to tracking RSVPs. Here are five surprisingly simple truths about how it works.
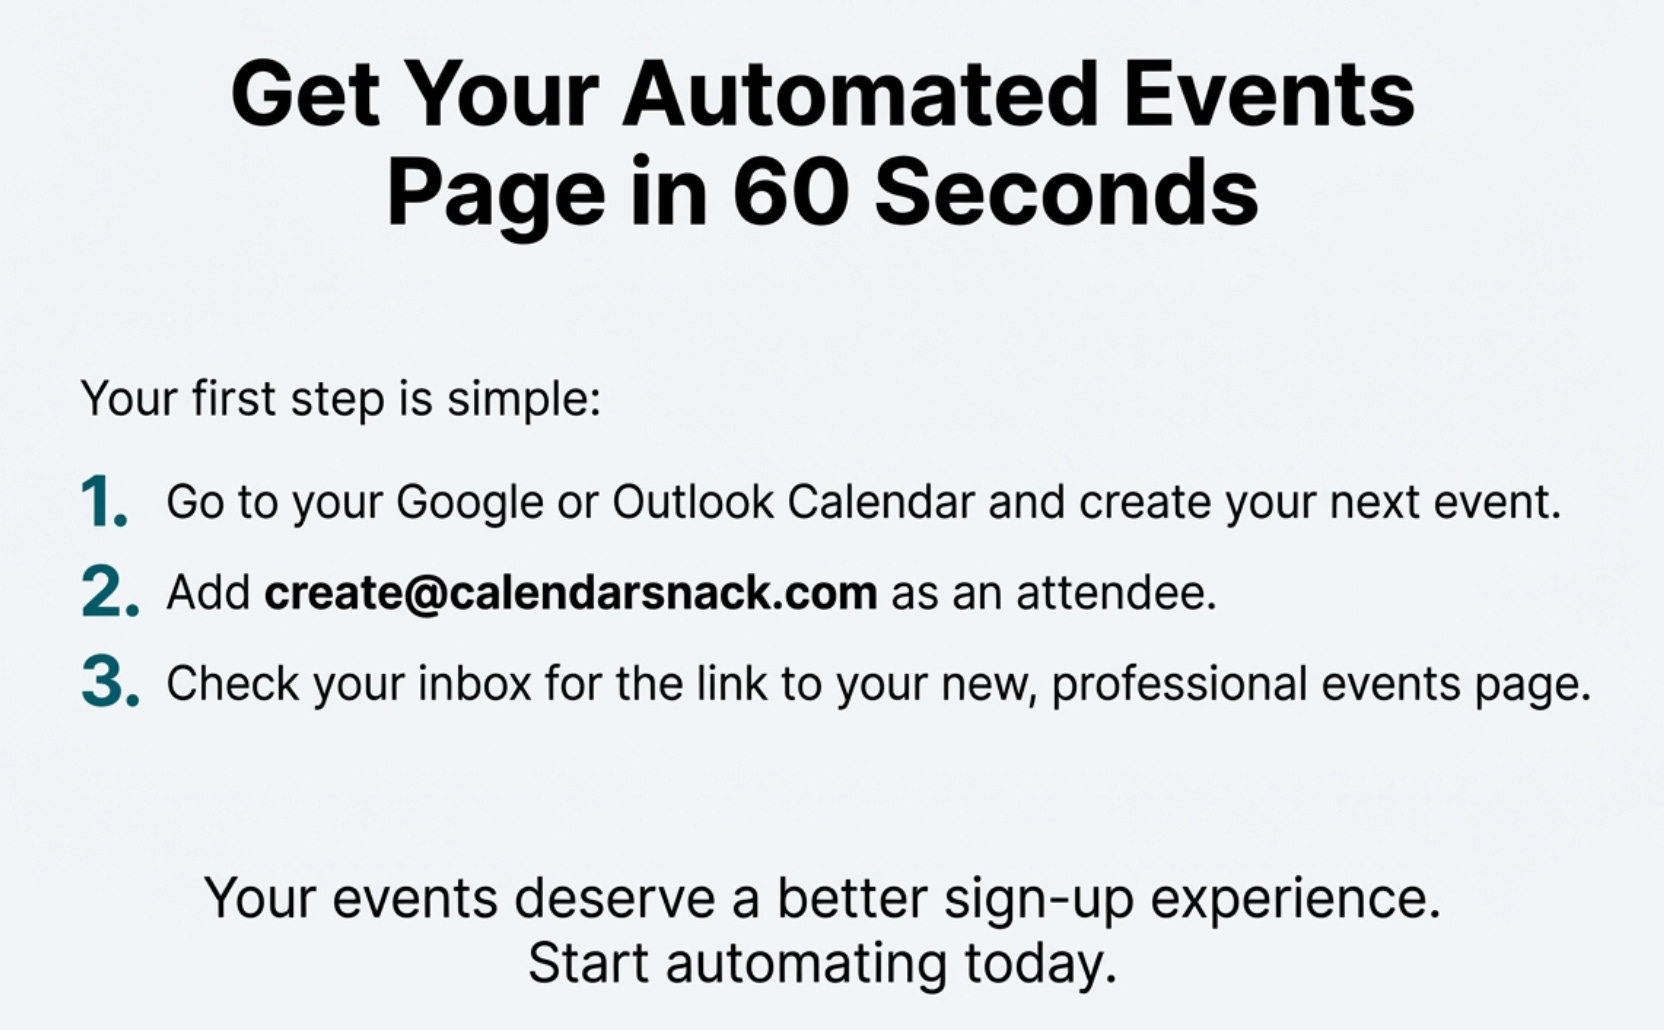
1. Launch an Event Page from a Single Email
The entire creation process begins with an action you already know how to do: creating an event in your calendar. An organizer simply creates an event in their native Google or Microsoft Calendar and sends the invitation to a special processing address, create@calendarsnack.com.
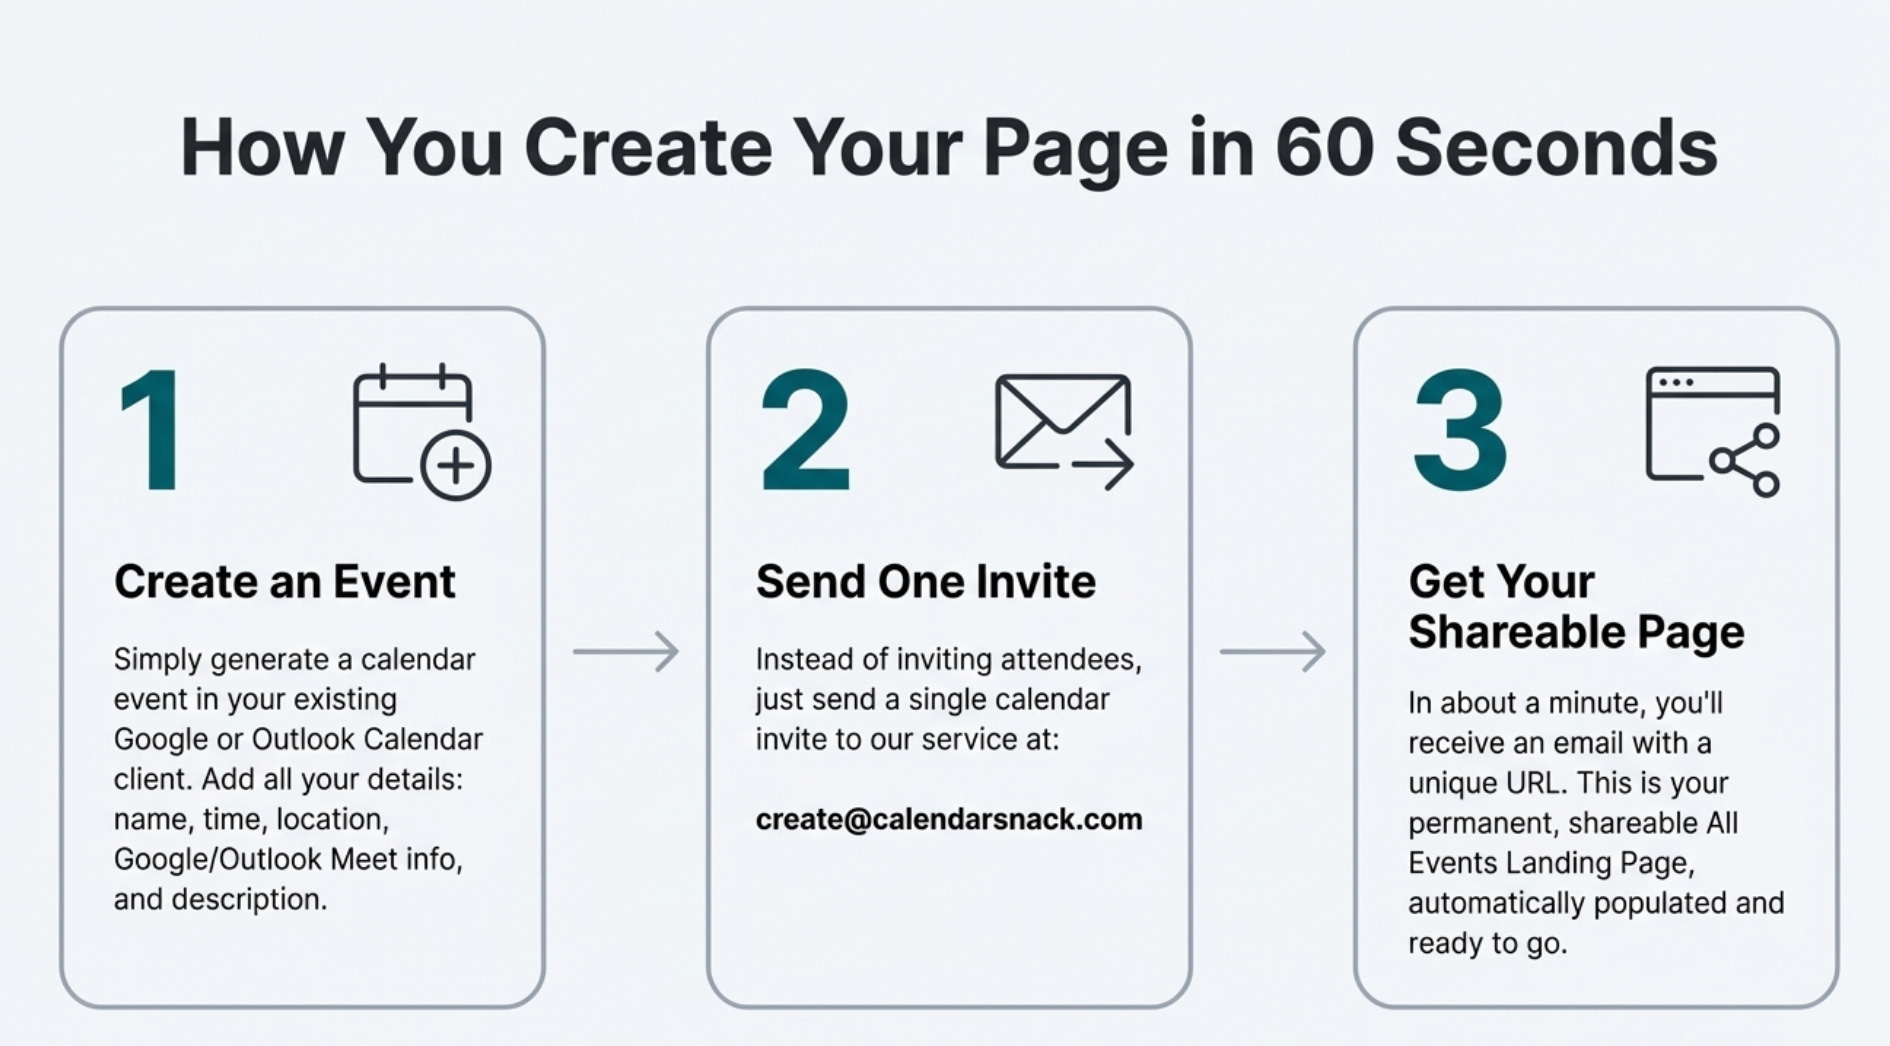
This single action is all it takes to automatically generate a shareable “All Events Landing Page.” Within about a minute, the organizer receives an email notification containing the URL to their new landing page, which is now live and ready to be shared.
The event organizer gets the shareable events landing page in 60 seconds that is generated by using their Google or Microsoft calendar client, generating the calendar event in their calendar client and sending the Calendar Invite to an email address that processes the data and assigns a shareable URL for the all events to be displayed.
2. Update Everyone by Updating Your Calendar
Forget logging into a separate platform to change event details. Your own calendar is now your content management system. To make a change, the organizer simply opens the original event in their calendar client and edits it.
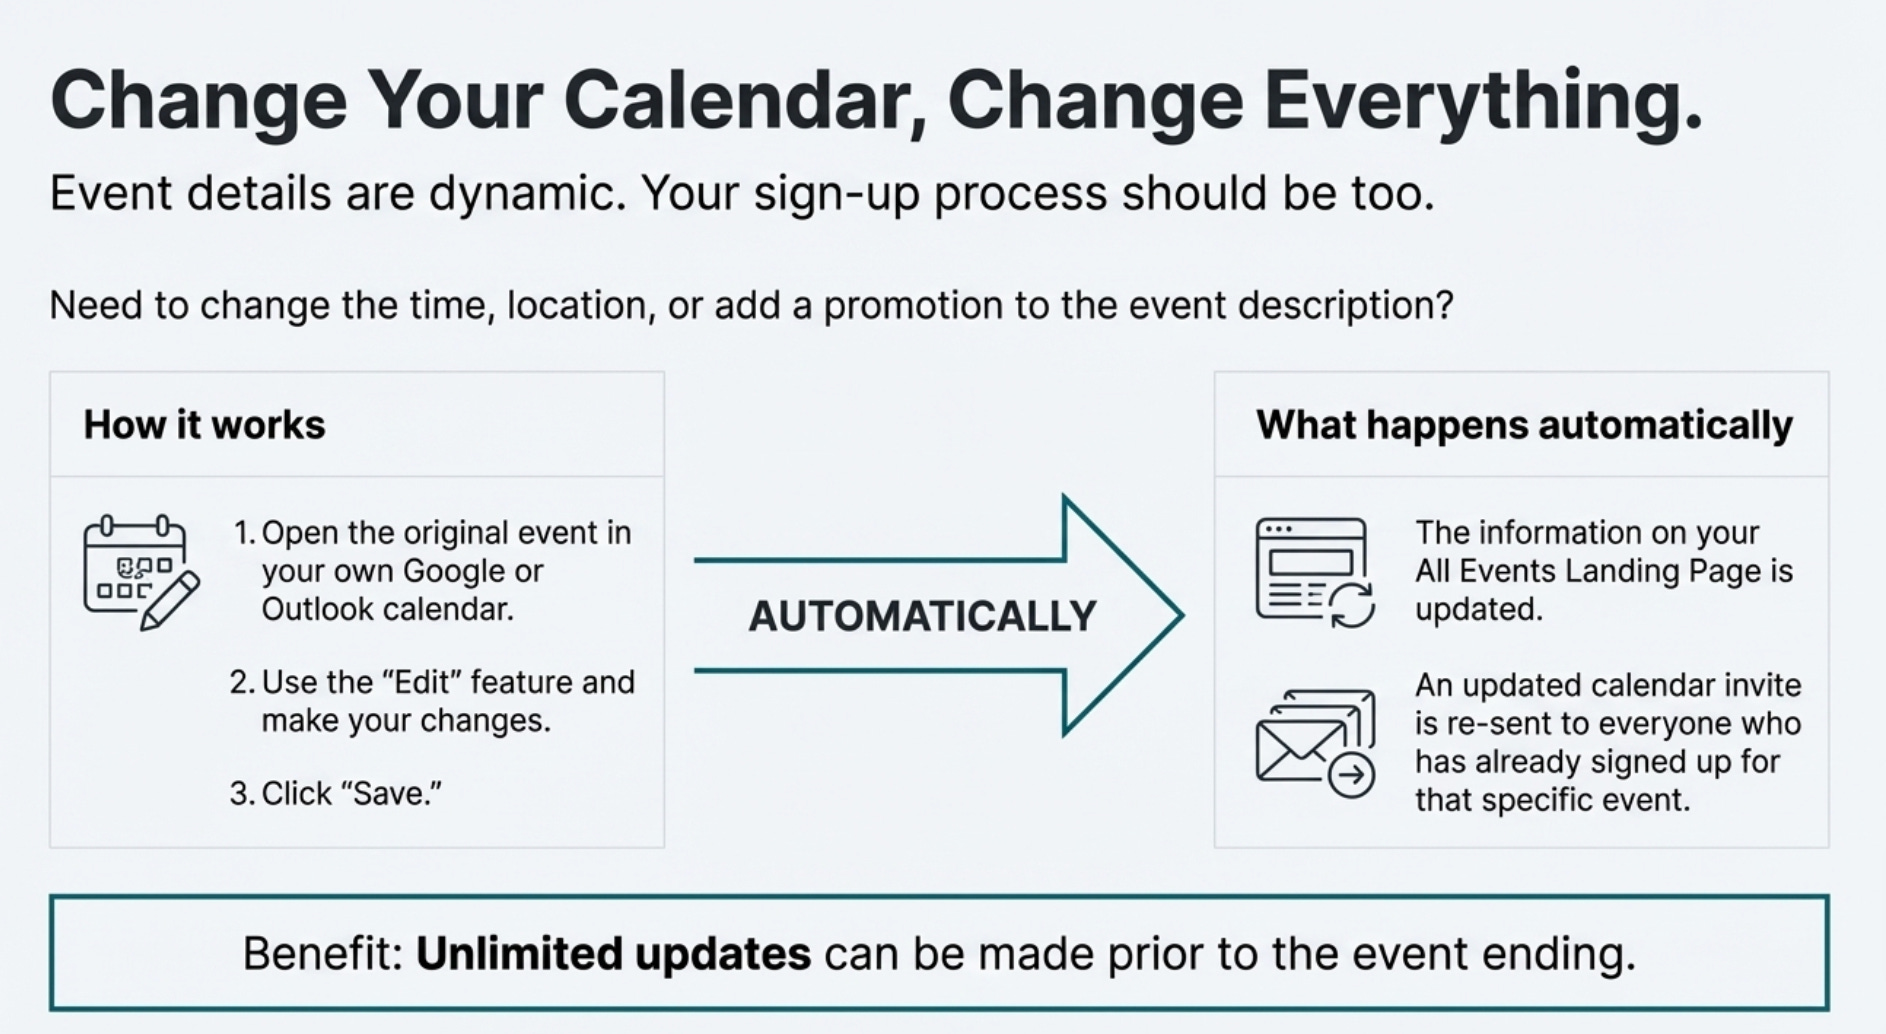
Whether you need to change the time, update the location, or add new promotional codes into the event description, you just make the changes and click “Save.” Saving the event automatically resubmits the information to the processing service. This action instantly updates the information on the public landing page and, crucially, automatically sends an updated calendar invitation to every customer who has already signed up for that specific event. Event information can be updated an unlimited number of times before the event concludes.
Deleting the event off the page is easy. Just cancel the event on your calendar client. This will take the information off the Event Landing page and send a cancel calendar event notification to anyone that has the event on their calendar.
3. Replace Forms with a Single Click for Customers
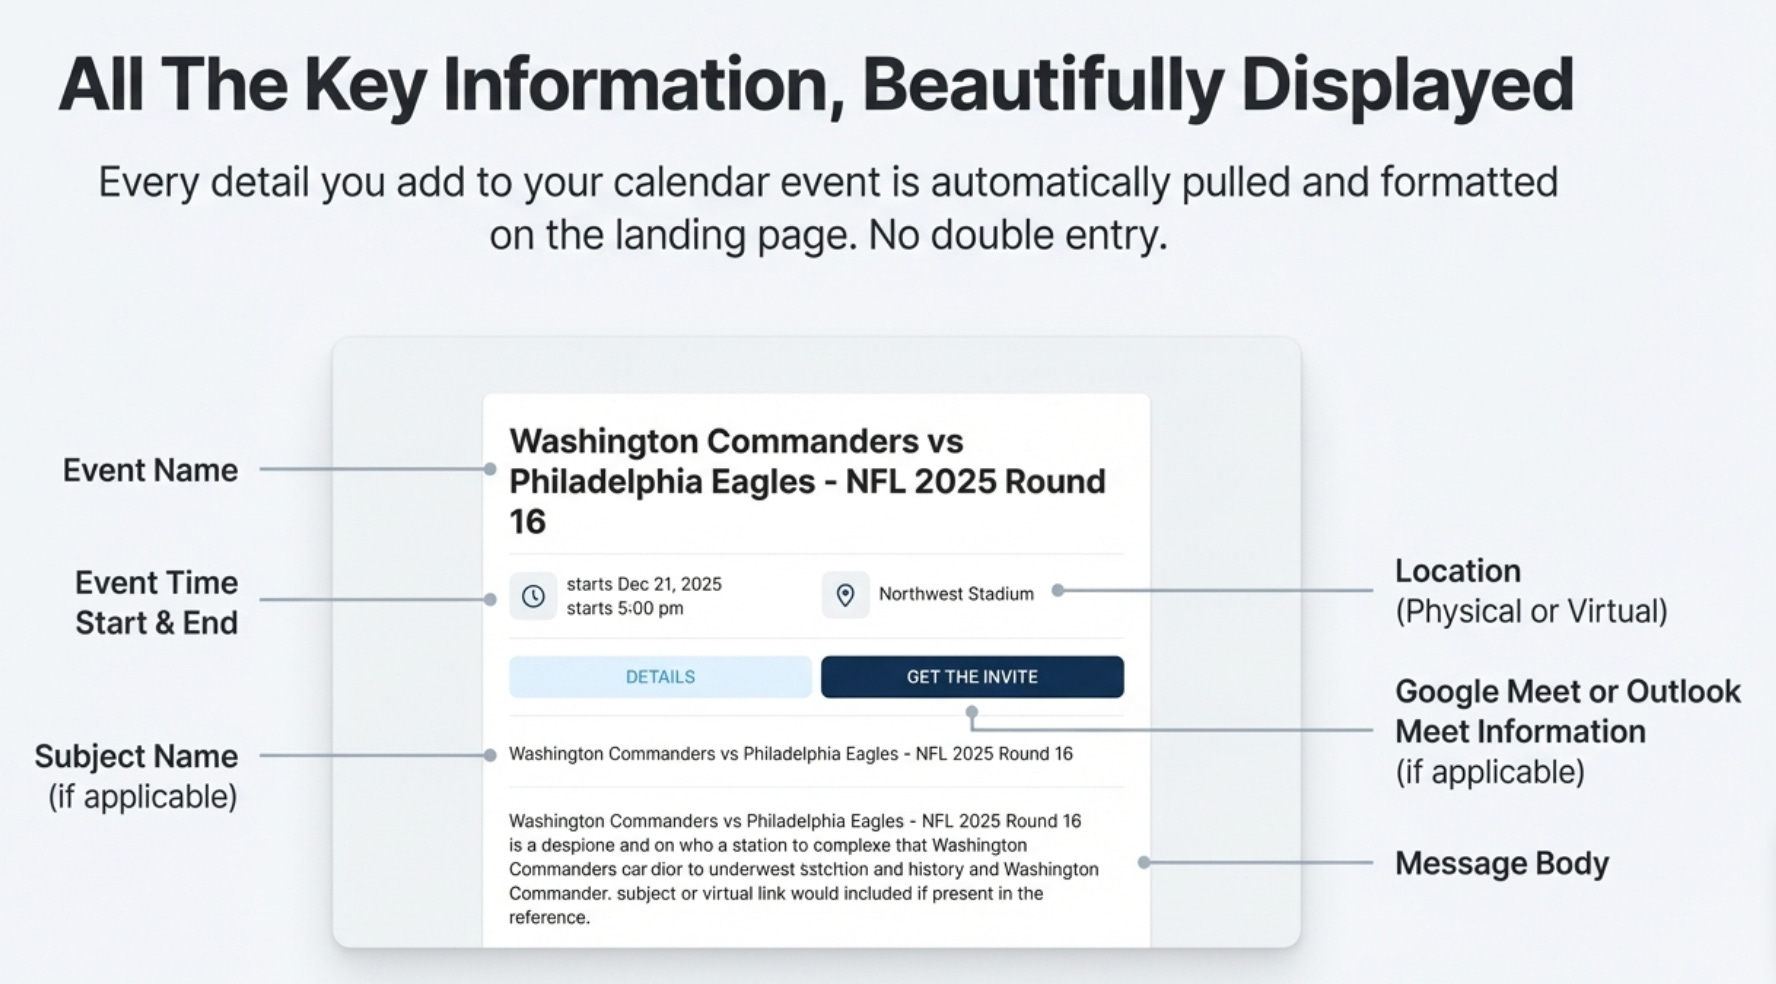
The experience for your attendees is designed to be frictionless. When a customer visits your landing page, they see a clean interface with a field at the top to enter their email address. Below the email field, customers see your events laid out in an intuitive way—either as a familiar monthly calendar view or a detailed chronological list. For each event, they can see the name, date, time, and location at a glance, with clear “Details” and “Get The Invite” buttons for each one.
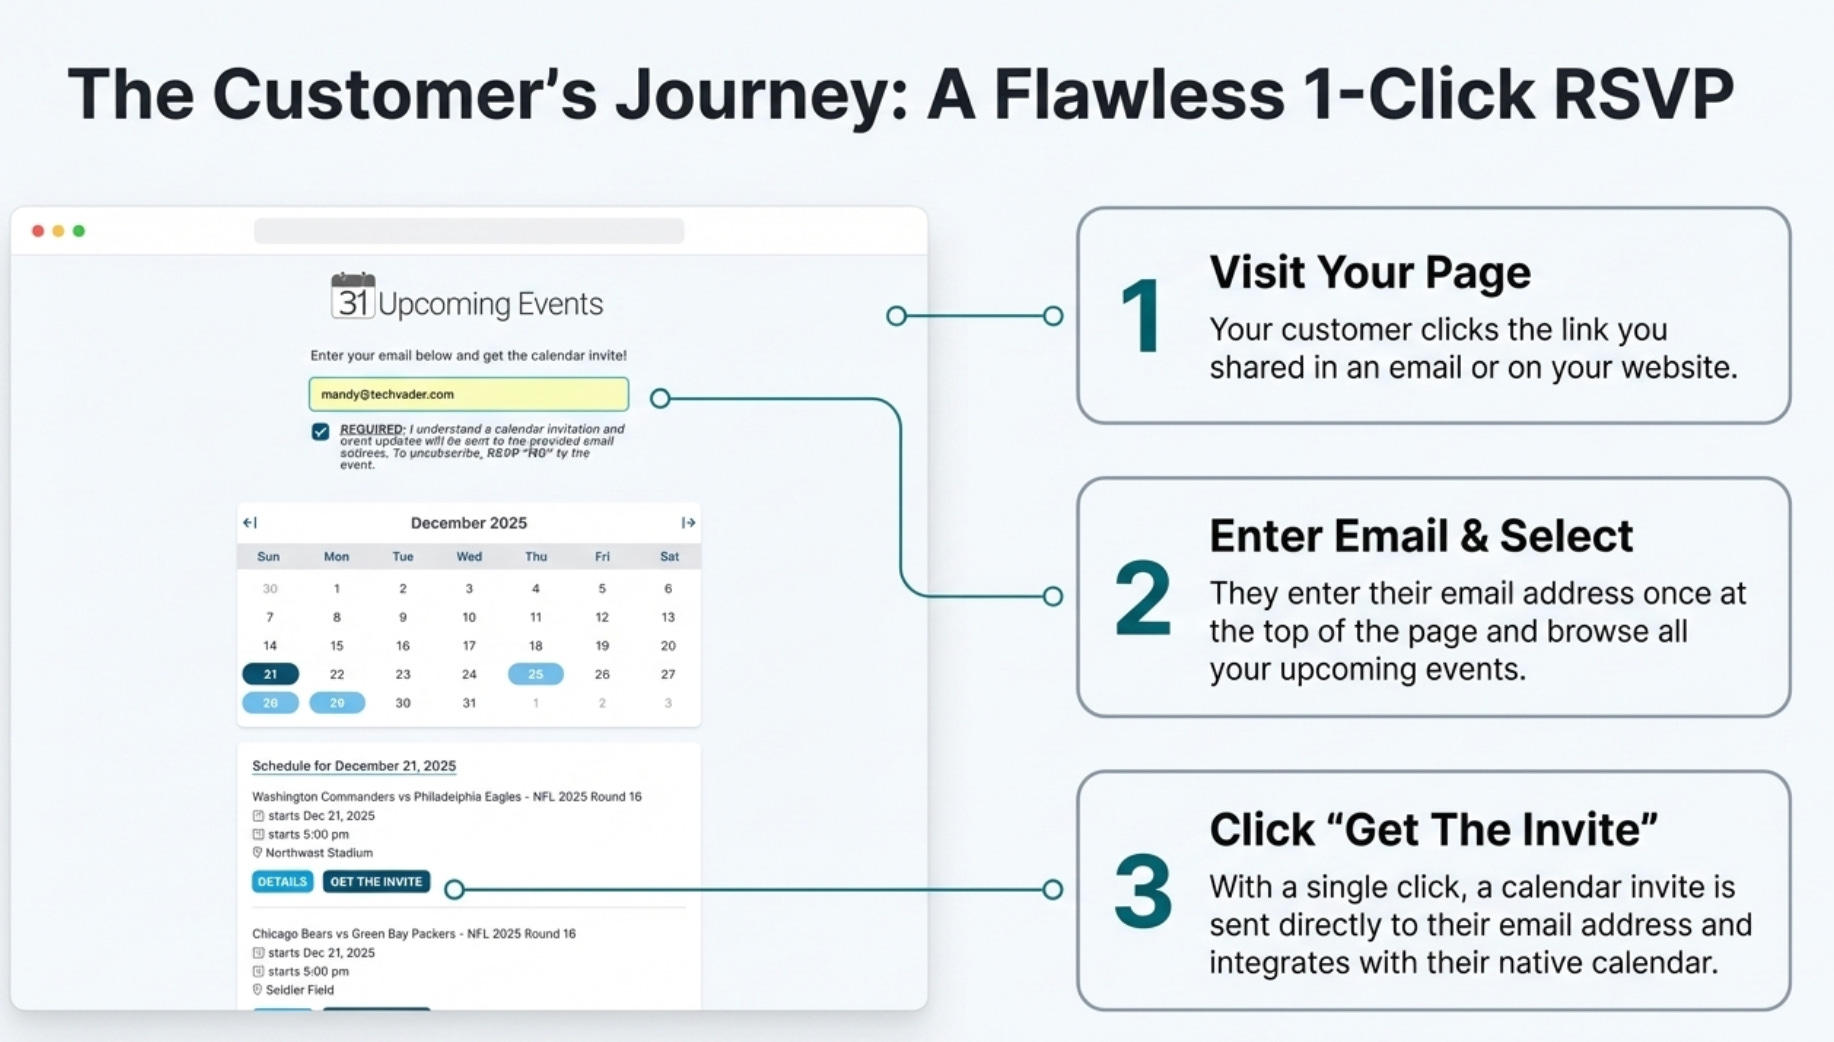
To sign up, the customer simply enters their email and clicks a single button for the event they wish to attend. A calendar invitation is sent directly to their inbox—no confusing forms to fill out or files to download. This streamlined process replaces outdated and ineffective methods entirely.
It replaces the RSVP Form and .ical Download for Organizer and Customer which does not work, does not collect direct calendar receipts from customers and causes confusion for the customer when the downloadable .ical does not attach to the correct calendar client.
4. Track Real RSVPs Directly from Their Calendars
The system’s tracking goes far beyond just sending an invite. Once a customer responds to the invitation from within their own calendar client, the service monitors and collects that receipt.
This gives the organizer a true picture of attendance. In a private reporting dashboard, the organizer can see the actual “Y, N, M” (Yes, No, Maybe) status for every person who has received an invite.
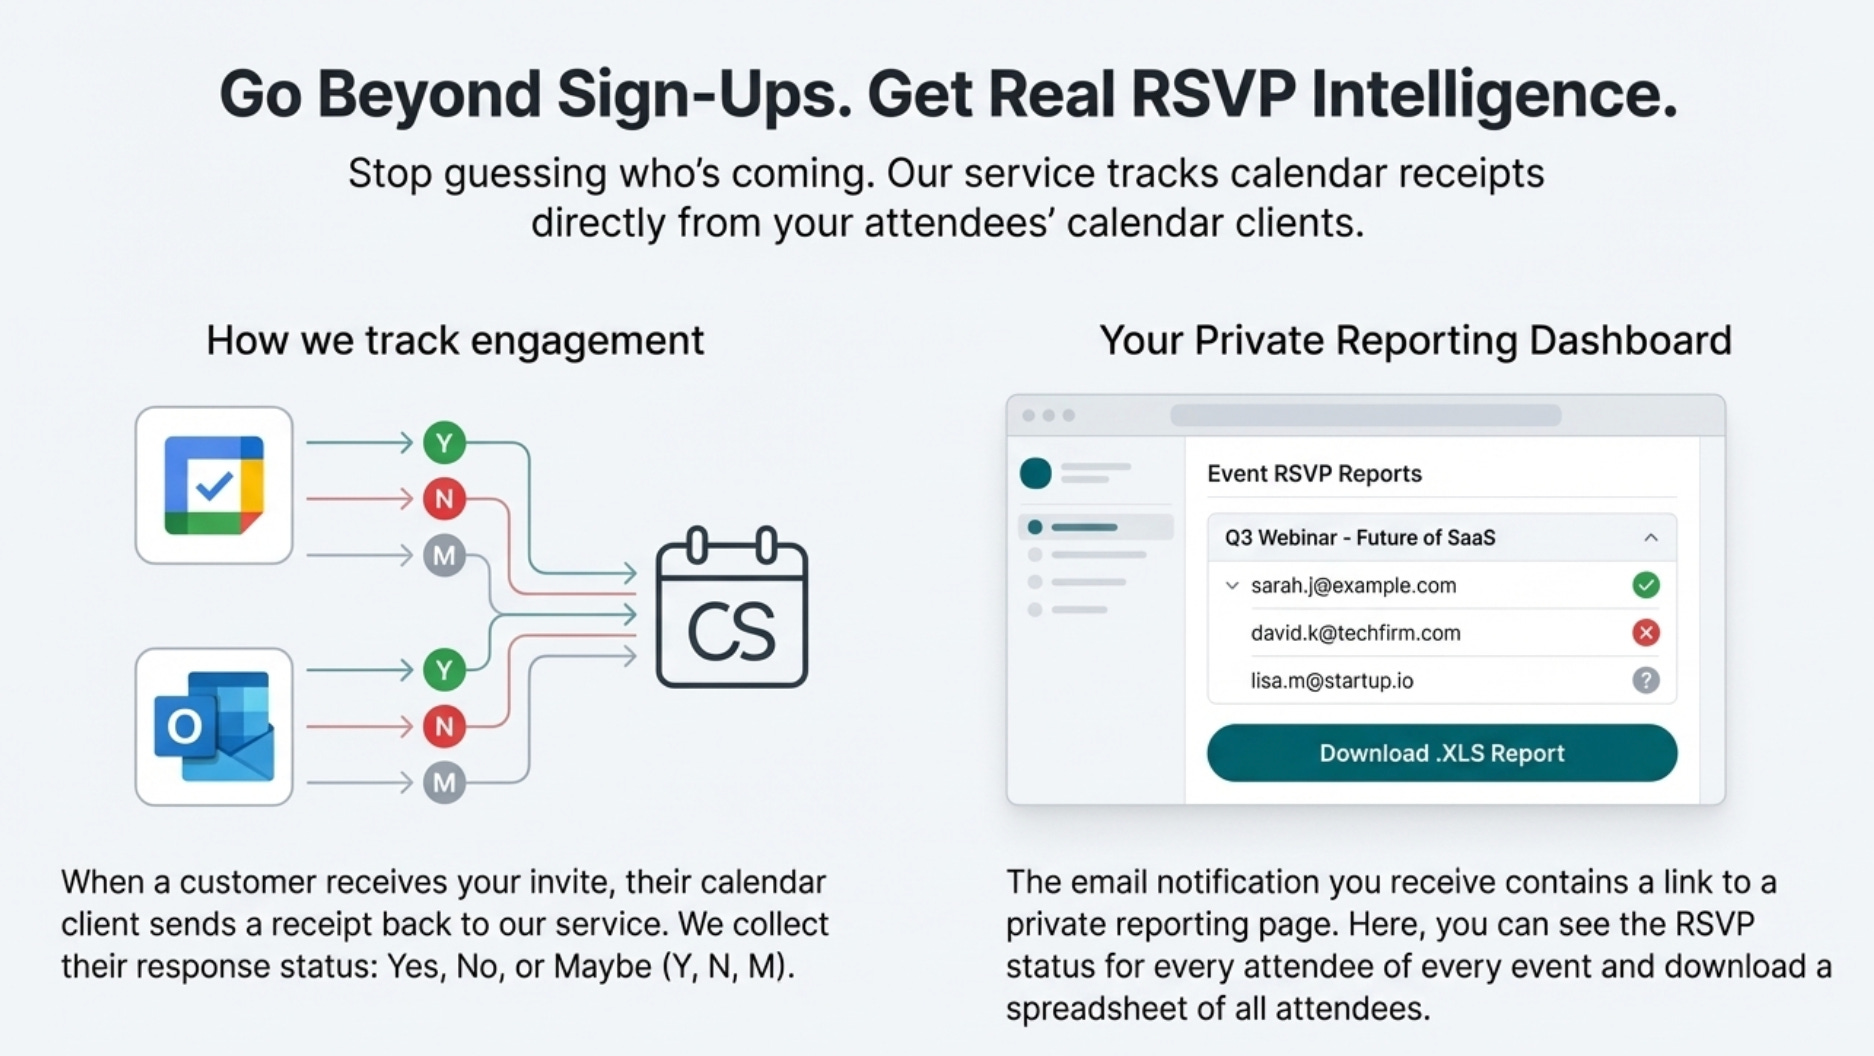
From this dashboard, organizers can also export a complete report of attendee RSVP statuses into an Excel spreadsheet with a single click, streamlining list management. The link to this private reporting page is sent to the organizer in the initial confirmation email, giving them immediate access to their event analytics.
5. Create a Permanent Hub for All Your Events
The service provides a single, persistent URL for your “All Events Landing Page.” This one link becomes a permanent hub for your audience. The page automatically lists all future events you create in chronological order, ensuring customers always see what’s coming up next.
This single page can support and display up to 2,500 future events, making it a scalable solution for any organization. You can use this one link in your email signatures, on your website, or in your social media bio as the central, reliable destination for all event signups.
Conclusion: Rethink Your Workflow
Event management doesn’t need to be a scattered, multi-platform headache. By integrating it directly into the calendar—a tool we already rely on—we can eliminate the friction that burdens both organizers and their attendees. The workflow becomes intuitive, the updates are seamless, and the customer experience is effortless.